Drawer slides are an essential component of any drawer. They are responsible for the smooth and effortless operation of the drawer. Over time, however, drawer slides can wear out, making it difficult to open or close the drawer. In this blog post, we will discuss how to replace drawer slides.

Step 1: Remove the Drawer
The first step in replacing drawer slides is to remove the drawer from the cabinet. To do this, pull the drawer out as far as it will go, then lift it up and off the tracks. If the drawer is too heavy, you may need a helper to hold it while you remove the slides.
Step 2: Remove the Old Slides
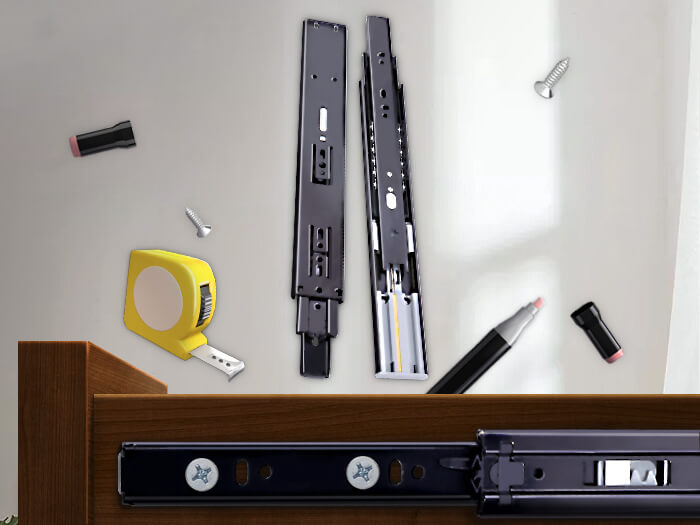
Once you have removed the drawer, you can begin removing the old slides. The easiest way to do this is to use a screwdriver to remove the screws holding the slides in place. Once you have removed the screws, you should be able to slide the old slides out of the cabinet.
Step 3: Install the New Slides
With the old slides removed, you can now install the new slides. Start by measuring the distance between the drawer and the cabinet sides. This measurement will help you determine the correct length for your new slides.
Next, position the new slides in place and attach them to the cabinet using screws. Make sure the slides are level and properly aligned.
Step 4: Install the Drawer
Once you have installed the new slides, you can now reattach the drawer to the tracks. Simply lift the drawer and slide it back into place, making sure it slides smoothly on the new tracks.

Frequently asked questions:
Can I replace only one drawer slide, or do I need to replace both?
It is always best to replace both drawer slides at the same time to ensure even and smooth operation of the drawer.
What tools do I need to replace drawer slides?
You will need a screwdriver, a tape measure, and possibly a drill.
Suggestion
Replacing drawer slides requires woodworking experience. If you are not confident in your own ability to do so, please hire a professional to replace them for you.


