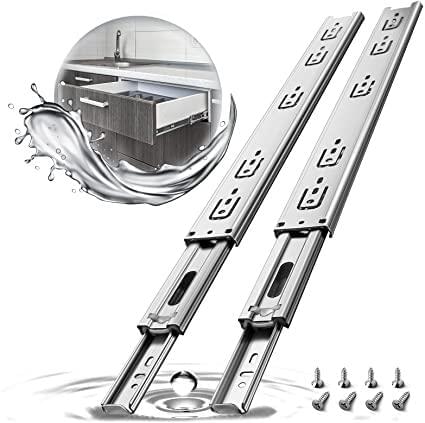
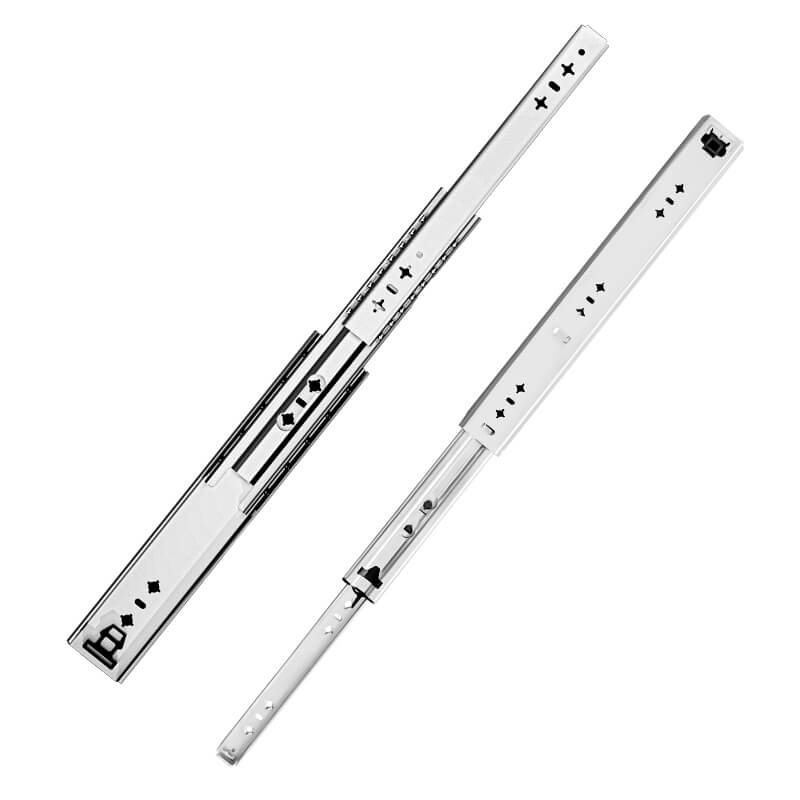
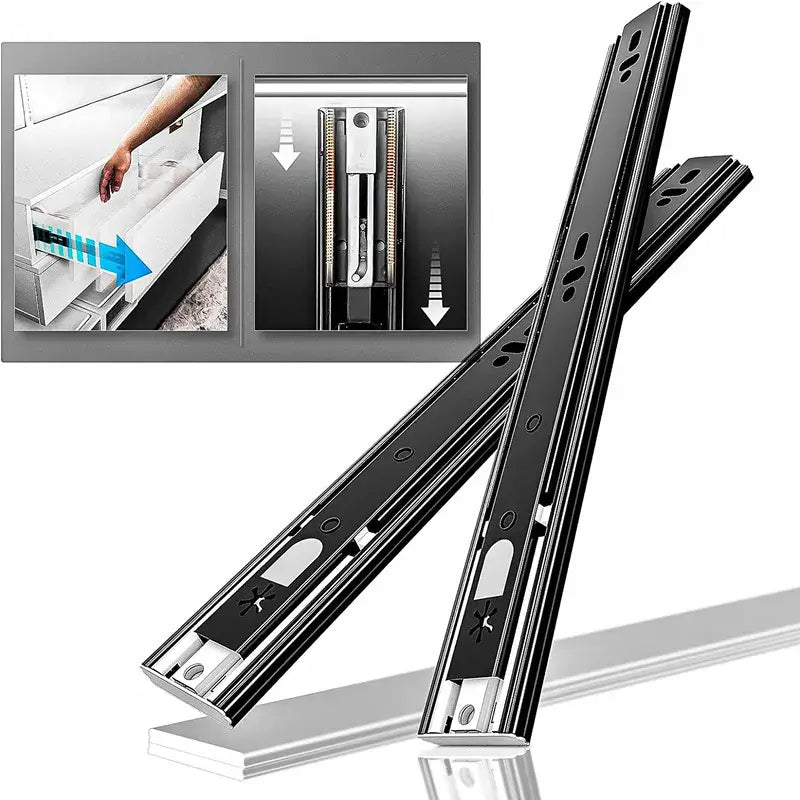
In the world of heavy-duty storage solutions, heavy duty drawer slides play a pivotal role in ensuring smooth and reliable operation. Whether you're an avid DIY enthusiast or a professional tradesperson, understanding how to remove these robust hardware components is a fundamental skill. Whether you're performing maintenance or considering an upgrade, knowing the ins and outs of heavy duty drawer slide removal can save you time, effort, and frustration.
In this comprehensive guide, we will delve into the art of safely removing heavy duty drawer slides. From the essential tools and safety precautions to a step-by-step walkthrough and troubleshooting tips, we've got you covered. Whether you're faced with a jammed drawer in your garage workshop or planning a complete overhaul of your industrial storage system, this knowledge is invaluable.
So, whether you're tackling a heavy-duty storage project or just curious about the intricacies of heavy duty drawer slides, join us on this journey. By the end of this guide, you'll have the confidence and expertise to remove heavy duty drawer slides with ease, ensuring your storage solutions continue to meet your needs effectively. Let's get started on the path to mastering heavy duty drawer slide removal.
Removing Heavy Duty Drawer Slides Safely

Tools and Safety Precautions
Before you embark on the process of removing heavy duty drawer slides, it's essential to gather the necessary tools and take safety precautions to ensure a smooth and secure removal process. Here's what you'll need:
Tools Needed:
Screwdriver or Power Drill:
A screwdriver or power drill with the appropriate bit is crucial for removing screws securing the drawer slides.
Pliers:
Pliers can be handy for gripping and turning screws that might be difficult to reach with a screwdriver.
Safety Gloves:
Heavy duty drawer slides may have sharp edges or corners, so wearing safety gloves will protect your hands from any potential injuries.
Safety Glasses:
Safety glasses are essential for eye protection, especially when working with screws or metal components that may create flying debris.
Safety Precautions:
Clear the Drawer:
Before beginning the removal process, ensure the drawer is completely empty. This reduces the weight of the drawer and prevents any items from falling or getting in your way during removal.
Secure the Drawer:
If you're working with a large and heavy drawer, it's a good idea to have an extra set of hands to help you lift and secure it during removal. Heavy drawers can be unwieldy and challenging to handle alone.
Work on a Stable Surface:
Make sure you're working on a stable and flat surface, preferably at a comfortable working height. This reduces the risk of accidents and ensures better control during removal.
Inspect Screws and Hardware:
Before starting the removal, inspect the screws and other hardware components. Check for any signs of rust, damage, or wear. If you notice any issues, consider replacing these components during reinstallation.
Follow Manufacturer's Instructions:
Always refer to the manufacturer's instructions for your specific heavy duty drawer slides. These instructions may provide additional safety recommendations or guidance tailored to your hardware.
Use Caution with Sharp Edges:
Be mindful of any sharp edges or corners on the drawer slides or inside the cabinet. Handle these components with care to avoid cuts or abrasions.
Secure Removed Hardware:
Once you've removed screws and components, keep them in a secure container or bag to prevent misplacement and ensure they're readily available for reinstallation.
By following these essential safety precautions and having the right tools at your disposal, you'll be well-prepared to safely and efficiently remove heavy duty drawer slides, whether for maintenance, replacement, or any other purpose. Now, let's move on to the step-by-step process of removing these robust hardware components from your drawers or cabinets.
Step-by-Step Guide to Remove Heavy Duty Drawer Slides

Drawer Slide Mounting Screws Removal Tips
Removing heavy duty drawer slides may seem like a daunting task, but with the right tools and a systematic approach, it can be done safely and efficiently. Here's a step-by-step guide to help you through the process:
Step 1: Clear the Drawer
Before you begin, empty the drawer completely. This reduces the weight and makes it easier to handle during the removal process.
Step 2: Locate Mounting Screws
Examine the interior of the drawer and the cabinet to locate the mounting screws that secure the heavy duty drawer slides.
These screws are typically found on both sides of the drawer, attaching it to the slides, and inside the cabinet, securing the slides to the cabinet structure.
If your drawer has more than one slide, repeat this process for each set of slides.
Step 3: Remove the Drawer
Carefully pull the drawer out as far as it can go without forcing it. Ensure it is fully extended but still supported by the slides.
If you have a helper, ask them to hold the drawer in place while you work. For large and heavy drawers, it's crucial to have assistance to prevent accidents.
Step 4: Access the Screws
With the drawer fully extended, you should have clear access to the mounting screws on the sides of the drawer.
If the screws are inside the drawer, gently push it as far to the side as possible to access the screws.
Step 5: Loosen and Remove Screws
Using a screwdriver or power drill with the appropriate bit, begin loosening the screws that attach the drawer slides to the drawer itself.
Work methodically, removing one screw at a time to maintain stability. If the screws are stubborn or rusted, use pliers to help turn them.
Once all screws are removed from one side of the drawer, proceed to the other side and repeat the process.
Step 6: Detach the Drawer Slides
With all screws removed, carefully detach the heavy duty drawer slides from the sides of the drawer.
If your drawer has multiple sets of slides, ensure you remove all of them, following the same procedure.
Step 7: Inspect and Prepare for Reinstallation
Take a moment to inspect the removed drawer slides for any signs of wear, damage, or issues that might require maintenance or replacement.
Clean the slides and components if needed, and consider lubricating moving parts for smooth reinstallation.
Store the removed hardware in a secure container or bag to prevent misplacement.
By following these steps, you can safely and effectively remove heavy duty drawer slides from your drawers or cabinets. Whether you're performing maintenance, upgrading your storage solutions, or making repairs, this guide equips you with the knowledge to tackle the task confidently.
In the event that you encounter any challenges or issues during the removal process, stay tuned for our troubleshooting section, where we'll address common problems and provide solutions.
Troubleshooting Problems When Removing Drawer Slides

Troubleshooting and Common Issues
While removing heavy duty drawer slides is a straightforward process, you may encounter some common issues along the way. Here are potential challenges you might face during removal and solutions to overcome them:
Issue 1: Stubborn or Rusted Screws
Problem: The mounting screws may be difficult to turn due to rust or other factors, making removal challenging.
Solution:
Apply Penetrating Oil: Apply a penetrating oil, such as WD-40, to the stubborn screws. Let it sit for a few minutes to loosen rust and debris.
Use Proper Tools: Ensure you're using the right screwdriver or power drill bit. A well-fitted tool
provides better leverage and reduces the risk of stripping screws.
Gently Tap: Tap the screwhead lightly with a hammer to help break up rust or corrosion before attempting to turn it.
Apply Torque: Use a pair of pliers to grip the screw head firmly while turning it counterclockwise. Ensure the pliers provide a good grip to avoid damaging the screw head.
Issue 2: Drawer Stuck or Jammed
Problem: The drawer may become stuck or jammed during the removal process, preventing it from sliding out smoothly.
Solution:
Look inside the drawer for any items or debris that might be blocking its movement. Remove any obstructions carefully.
Inspect Alignment: Ensure that the drawer is properly aligned with the slides. If it's misaligned, gently adjust its position to allow for smooth removal.
Lift and Tilt: If the drawer still won't budge, try lifting it slightly and tilting it upward while pulling it out. This may help release any pressure points or binding.
Issue 3: Missing or Hidden Screws
Problem: Some screws may be concealed or difficult to locate, leading to uncertainty about where to remove them.
Solution:
Consult Instructions: Review the manufacturer's instructions or documentation for the heavy duty drawer slides. They may provide specific guidance on hidden screws or fasteners.
Use a Magnet: Pass a small magnet along the interior of the cabinet and the sides of the drawer to detect hidden metal screws.
Inspect Closely: Carefully inspect all visible components, brackets, or trim pieces for screws that may be partially concealed or obscured.
Gentle Probing: Use a small, thin tool, like a small screwdriver or awl, to gently probe potential screw locations. Be cautious not to damage the surrounding materials.
Issue 4: Stripped Screws
Problem: Screws with stripped heads can be challenging to remove as traditional tools may not grip them effectively.
Solution:
Use a Screw Extractor: Invest in a screw extractor tool, which is designed to grip and turn stripped screws counterclockwise for removal.
Plastic Wrap or Rubber Band: Place a piece of plastic wrap or a rubber band over the stripped screw and then insert your screwdriver or bit. The added grip can sometimes help turn the screw.
Create a New Slot: Use a small hacksaw or rotary tool to create a new slot for a screwdriver on the stripped screwhead, allowing you to turn it manually.
By addressing these common issues and applying the suggested solutions, you can overcome challenges that may arise during the removal of heavy duty drawer slides. Remember to exercise patience and caution to ensure a safe and successful removal process.
Conclusion
Congratulations! You've successfully navigated the process of removing heavy duty drawer slides with confidence and precision. Whether you were tackling a maintenance task, upgrading your storage solution, or making repairs, knowing how to safely and efficiently remove these robust hardware components is a valuable skill.
In this comprehensive guide, we covered everything you need to know:
Essential Tools: We highlighted the tools you should have on hand, ensuring you're well-equipped for the job.
Safety Precautions: Safety is paramount, and we emphasized precautions to protect yourself and your workspace.
Step-by-Step Removal: We provided a detailed, step-by-step guide, making the removal process clear and accessible.
Troubleshooting: Common issues and their solutions were addressed, ensuring you're prepared for any challenges that may arise.
As you've discovered, removing heavy duty drawer slides is a task that can be accomplished with the right knowledge and tools. Whether you're a DIY enthusiast, a tradesperson, or simply someone looking to maintain their heavy-duty storage systems, you now have the expertise to do so effectively.
Remember to apply this newfound knowledge with care and precision, and always refer to manufacturer's instructions when needed. Proper removal ensures that your heavy duty drawer slides can be serviced, upgraded, or replaced as necessary, extending the lifespan and functionality of your storage solutions.
We hope this guide has been a valuable resource for you, and that you'll continue to tackle your projects with confidence and skill. Should you have any further questions or encounter new challenges in your endeavors, don't hesitate to seek out additional guidance. Happy woodworking and DIY-ing!
Frequently Asked Questions
How to Install Heavy Duty Drawer Slides?
To install heavy duty drawer slides:
- Gather Tools: Collect a screwdriver or power drill, screws, measuring tape, and a level.
- Measure: Determine your drawer and cabinet dimensions for slide selection.
- Choose Slides: Pick heavy duty slides matching your drawer's weight and size.
- Attach to Cabinet:Install one set of slides inside the cabinet, ensuring alignment.
- Attach to Drawer: Add the other slides to the drawer sides, aligning with cabinet slides.
- Test and Secure: Test drawer movement, adjust if necessary, and secure slides with screws.
- Ensure Smooth Operation: Confirm smooth drawer opening and closing.
Refer to how to install heavy duty drawer slides instructions for specific details.
What is the maximum weight for Heavy Duty drawer slides?
The maximum weight capacity of heavy duty drawer slides varies by brand and model but generally ranges from 100 to 500 pounds or more. Refer to the manufacturer's specifications for the precise weight capacity of your specific drawer slides. Exceeding the recommended weight capacity can lead to premature wear and damage, so choose slides that match your weight requirements.
If you have heavy loads or specific weight needs, consult with the manufacturer or a professional for guidance on selecting the right heavy duty drawer slides for your project.

